
Effective inventory management is all about maintaining balance — ensuring you never run out of best-selling items or overstock slow-moving ones. OutofStockLabs helps you stay ahead with smart alerts that monitor your stock levels in real time.
There are two main types of alerts you can create:
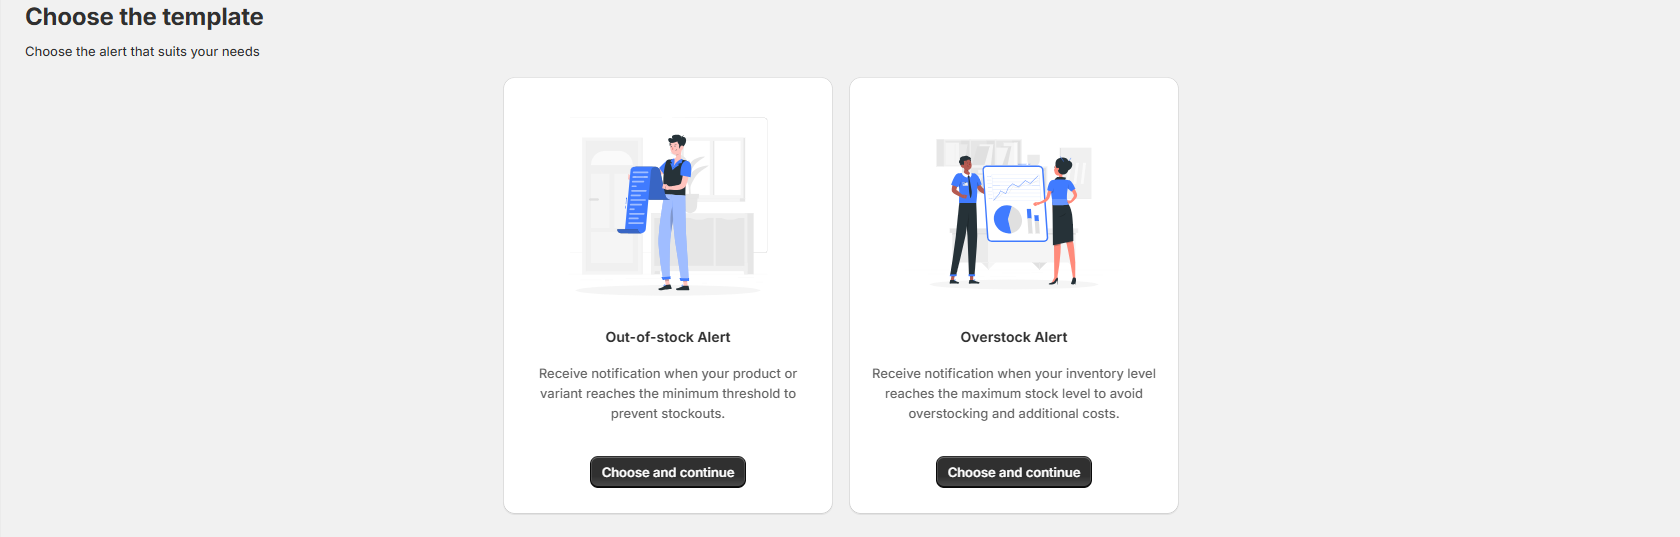
Out-of-Stock Alert – Notifies you when your stock reaches a low or critical level, helping prevent lost sales.
Overstock Alert – Alerts you when inventory exceeds a certain limit, helping you avoid tying up capital in excess stock.
In this guide, you’ll learn how to create both alerts step-by-step, and why each step matters for your business.
💡 Why Use Stock Alerts?
Stock alerts automate your inventory tracking so you can focus on growing your business. They help you:
✅ Prevent stockouts – Stay informed before popular items sell out.
✅ Avoid overstocking – Keep storage costs low and prevent excess inventory.
✅ Save time – Automate monitoring instead of checking manually.
✅ Make data-driven decisions – Improve forecasting and inventory planning.
🧭 Step-by-Step: Setting Up Stock Alerts
1.From your Dashboard, click the Create New Alert button

2. Choose an Alert Type
Select between:
Out-of-Stock Alert – For low inventory warnings
Overstock Alert – For excess stock notifications
Click Choose and Continue to proceed.
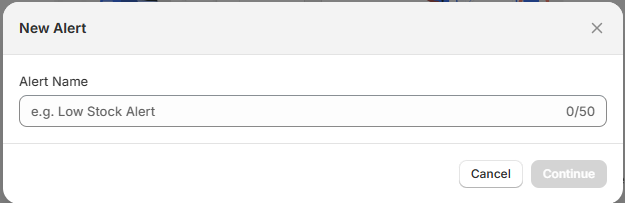
3. Name Your Alert
Enter a unique name for your alert, then click Continue.
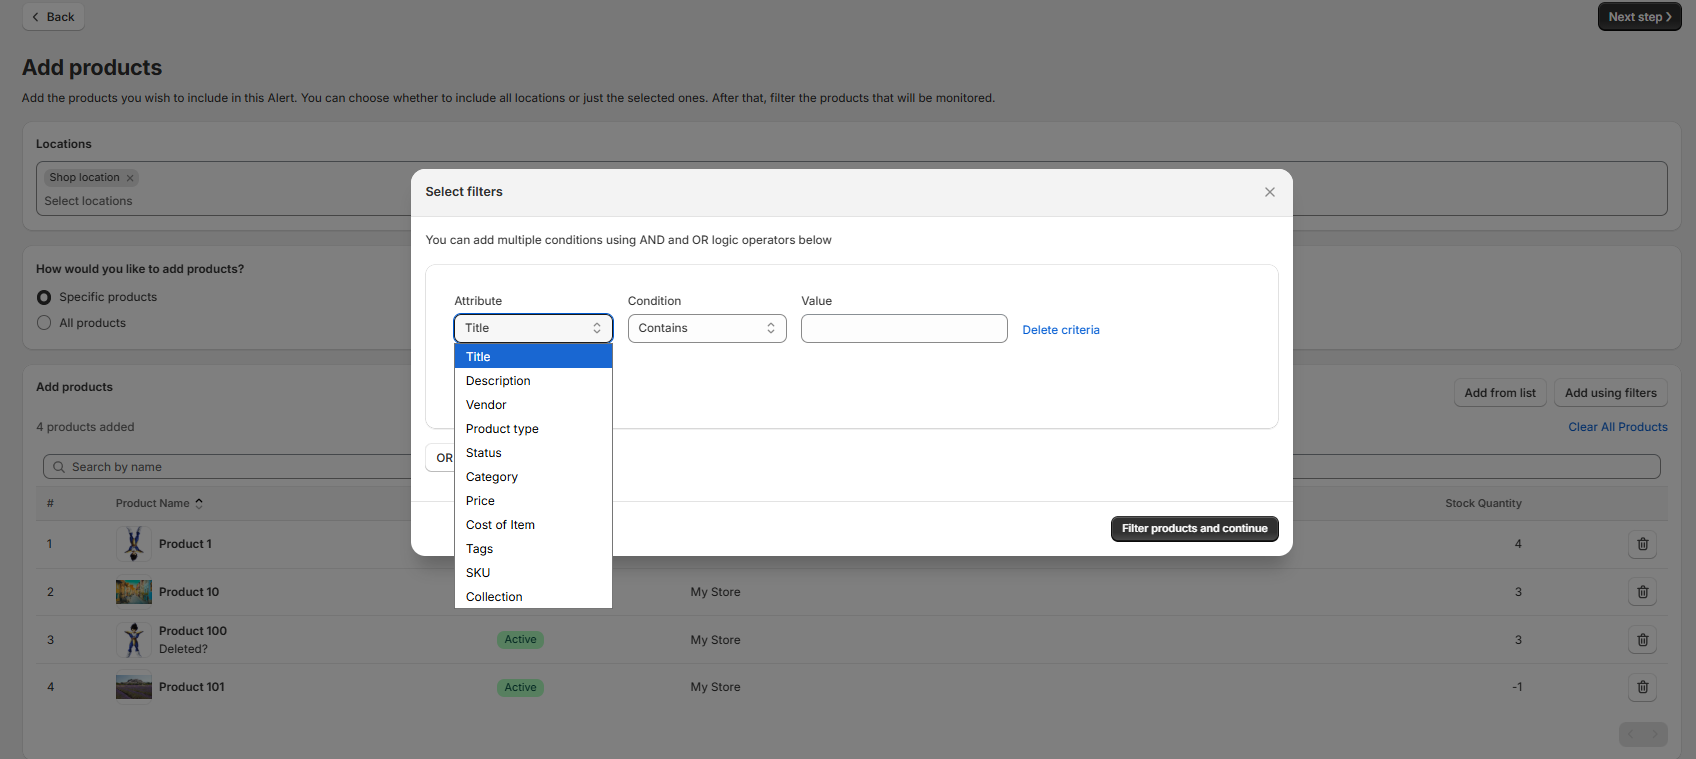
4. Add Products
Select the products you want to monitor by first choosing the location from which they will be tracked. Multiple locations are supported.
You can then decide how to add products to your alert:
Specific Products – Manually select the exact products or collections you want to include.
💡 Tip: Use the Filters option to narrow your selection — for example, by product type, vendor, tag, collections, or status, etc.. This helps you quickly find and include only the relevant products you want to monitor.All Products – Automatically include every product in your store’s inventory. This is ideal if you want a general alert covering your entire catalog.
Once your selections are finalized, click Next Step to proceed.
🟢 Why It Matters:
This step defines what inventory the alert will track, ensuring you’re monitoring the right products for your sales strategy.
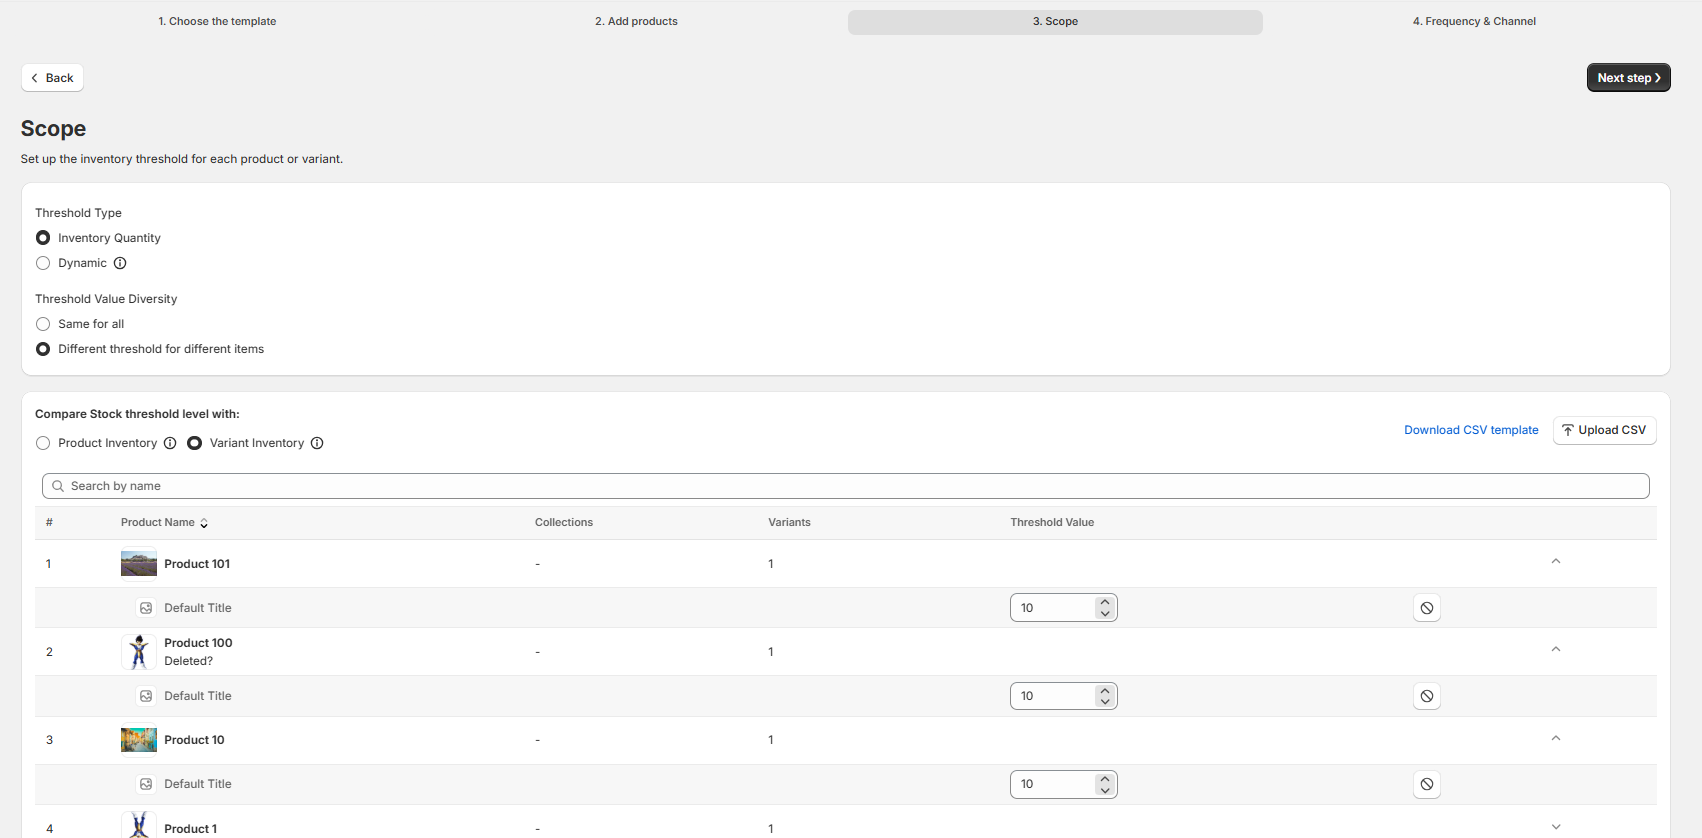
5. Set Up the Threshold
Determine when the alert should trigger:
Threshold Type:
Manual (Inventory Quantity) – Set a specific stock level or buffer manually.
Dynamic – Automatically calculates thresholds based on daily sales forecasts (ideal for fast-moving products).
Threshold Value Options:
Same for all – Apply one threshold across all selected product variants.
Different per item – Set unique thresholds per product or variant.
You can also download a CSV template to bulk upload threshold values.
Click Next Step when done.
🟢 Why it Matters:
Thresholds act as your early warning system — they define the stock limits that trigger alerts, helping you maintain balanced inventory without constant manual checks. By setting a threshold, you create a safety buffer that prevents selling out completely, improves forecasting accuracy, and gives your team enough lead time to reorder. This proactive setup ensures smoother operations and keeps your store ready for customer demand, even during sudden spikes in sales.
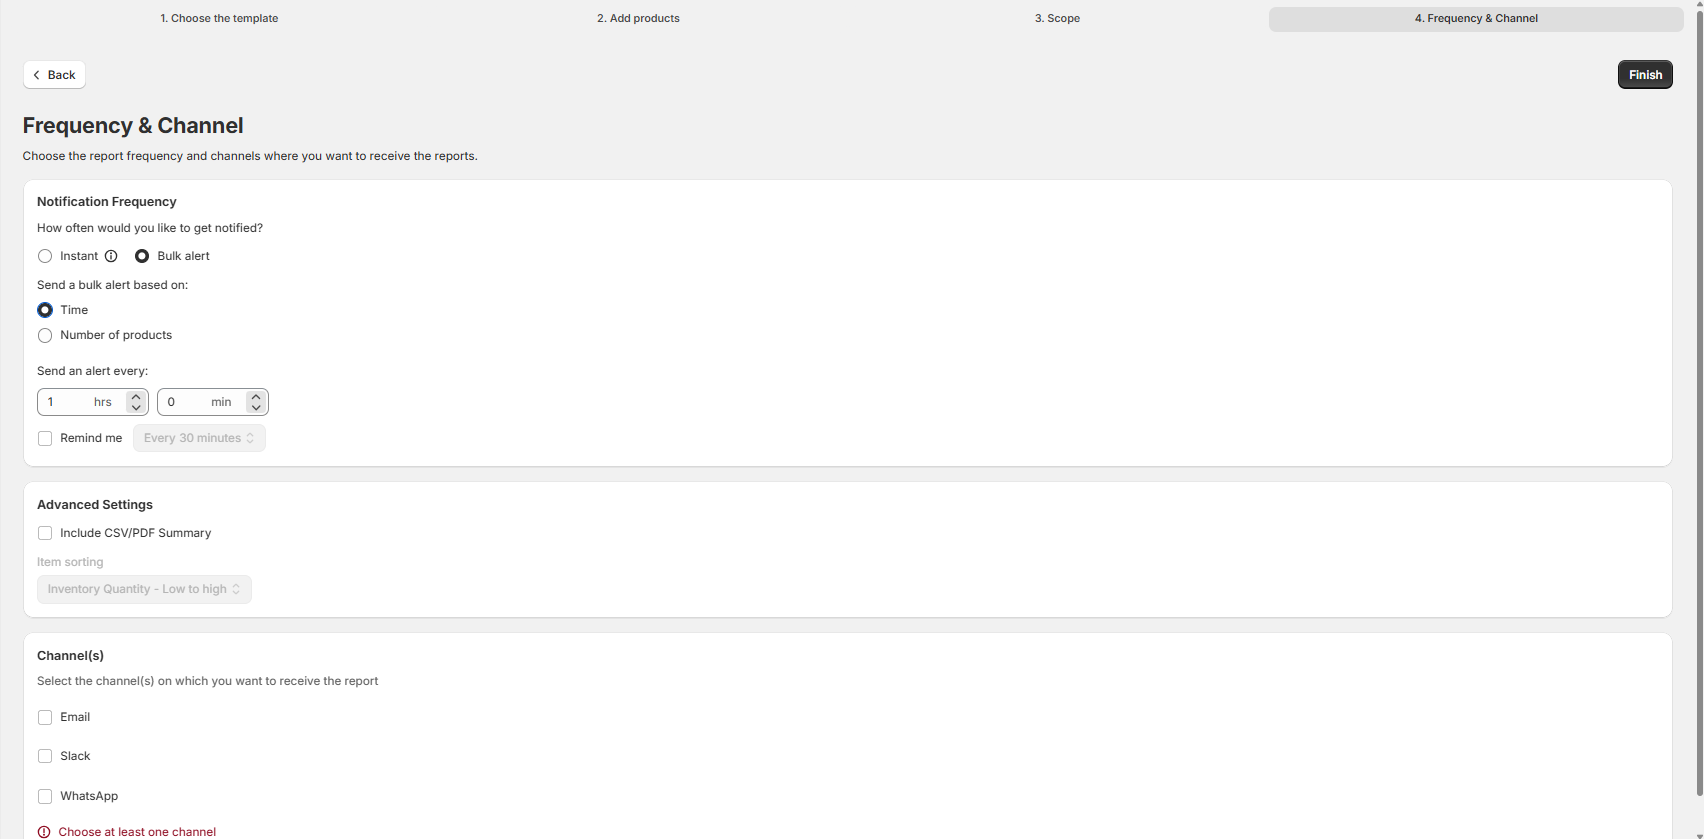
6. Configure Alert Frequency
Decide how often you want to receive alerts:
Instant Alerts – Get notified right away when stock levels hit the threshold.
Bulk Alerts – Receive grouped alerts at set intervals or after a certain number of products qualify.
You can also:
Set reminders using “Remind Me”
Include a CSV/PDF Summary for quick reference
🟢 Why It Matters:
Scheduling alerts allows you to control notification flow — receive them instantly for fast action, or in batches for easier review.
7. Set Notification Channel
Choose how you want to be notified:
📩 Email – For detailed reports and attachments
💬 Slack – For real-time team updates
📱 WhatsApp – For quick, mobile-friendly alerts
Click Finish to complete your setup.
🎉 You’re All Set!
You’ve successfully created your first Stock Alert in OutofStockLabs. From now on, you’ll receive timely notifications that help you:
✔️ Stay in control of inventory levels
✔️ Prevent costly stockouts or overstocks
✔️ Make data-driven restocking decisions with confidence